
Hold a hook & yarn
As a crochet beginner, one of the first things you’ll need to learn is how to get a grip on your crochet tools. The wonderful thing about crochet is that you only need 2 things – a hook and some yarn. If you’re right-handed, hold the hook in your right hand and yarn in the other. If you’re left-handed, switch sides.
HOW TO HOLD A CROCHET HOOK (STEP-BY-STEP WITH PHOTOS)
There are two ways to hold a crochet hook. Do what’s comfiest for you:
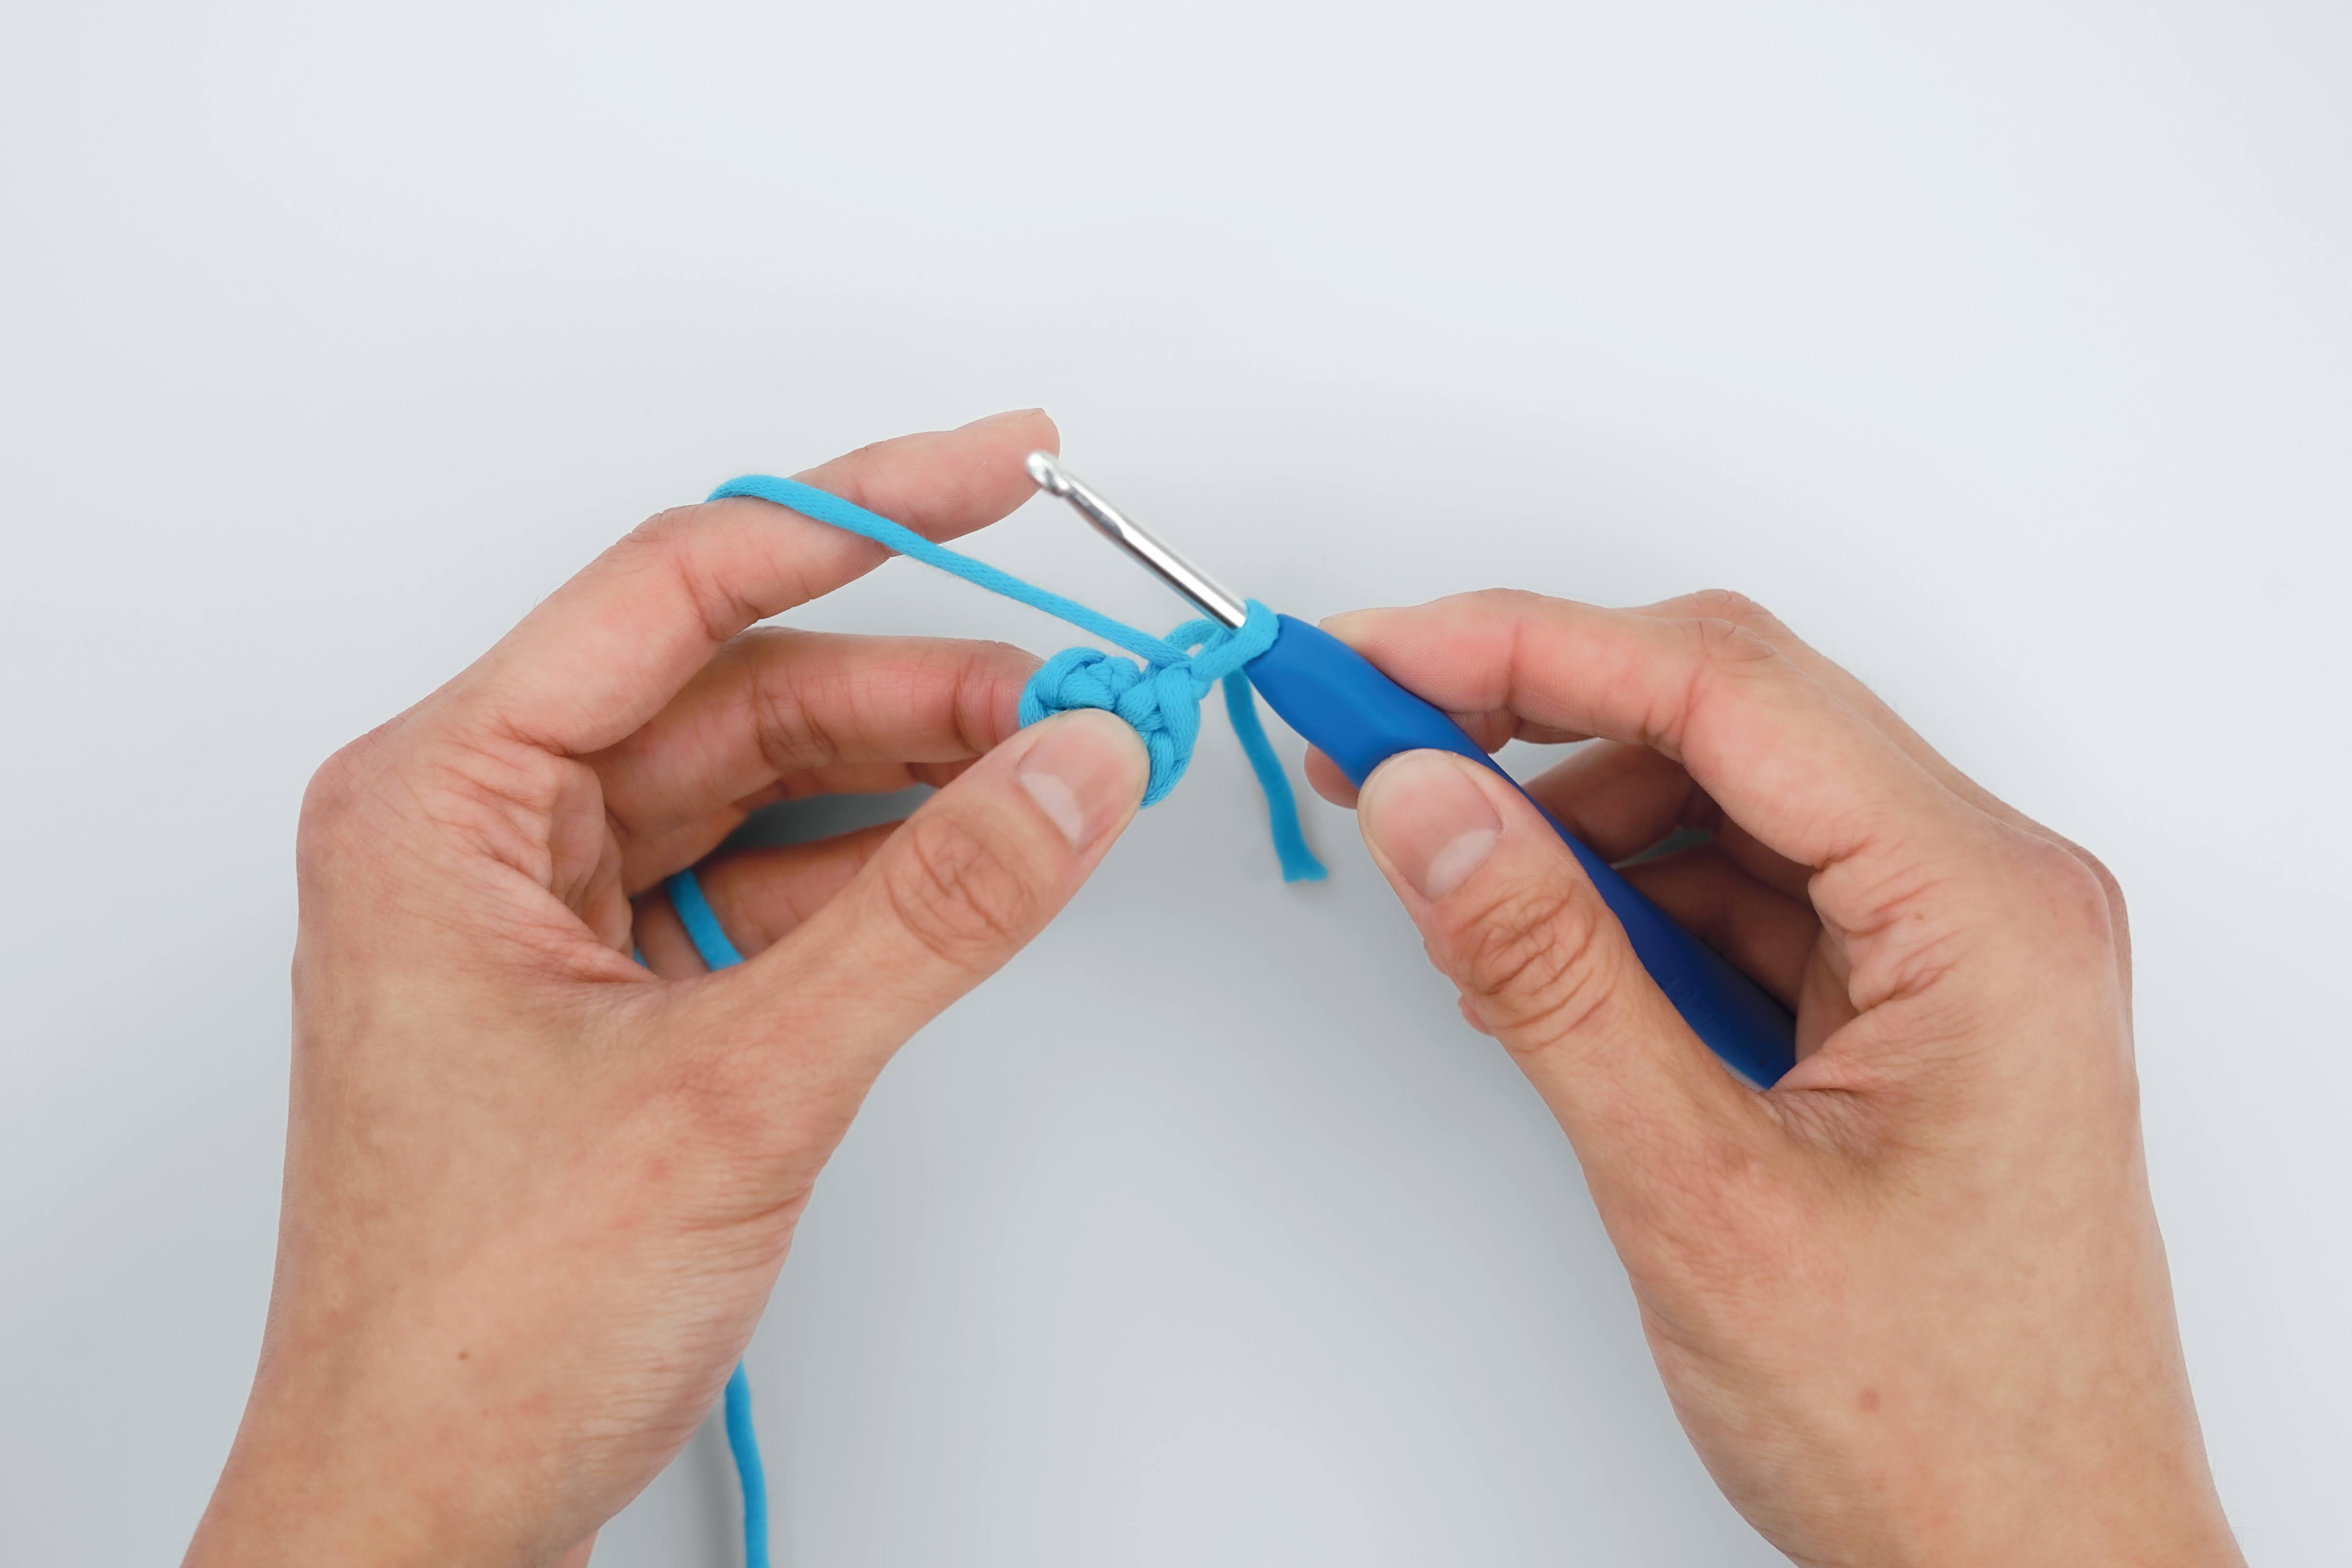
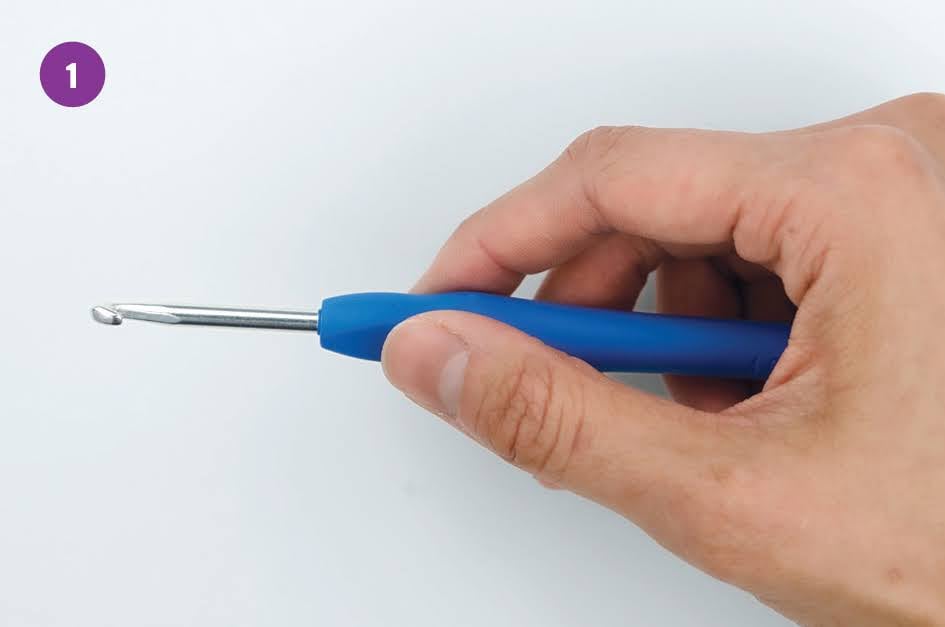 1. Overhand grip 1. Overhand gripHold the hook like a knife. |
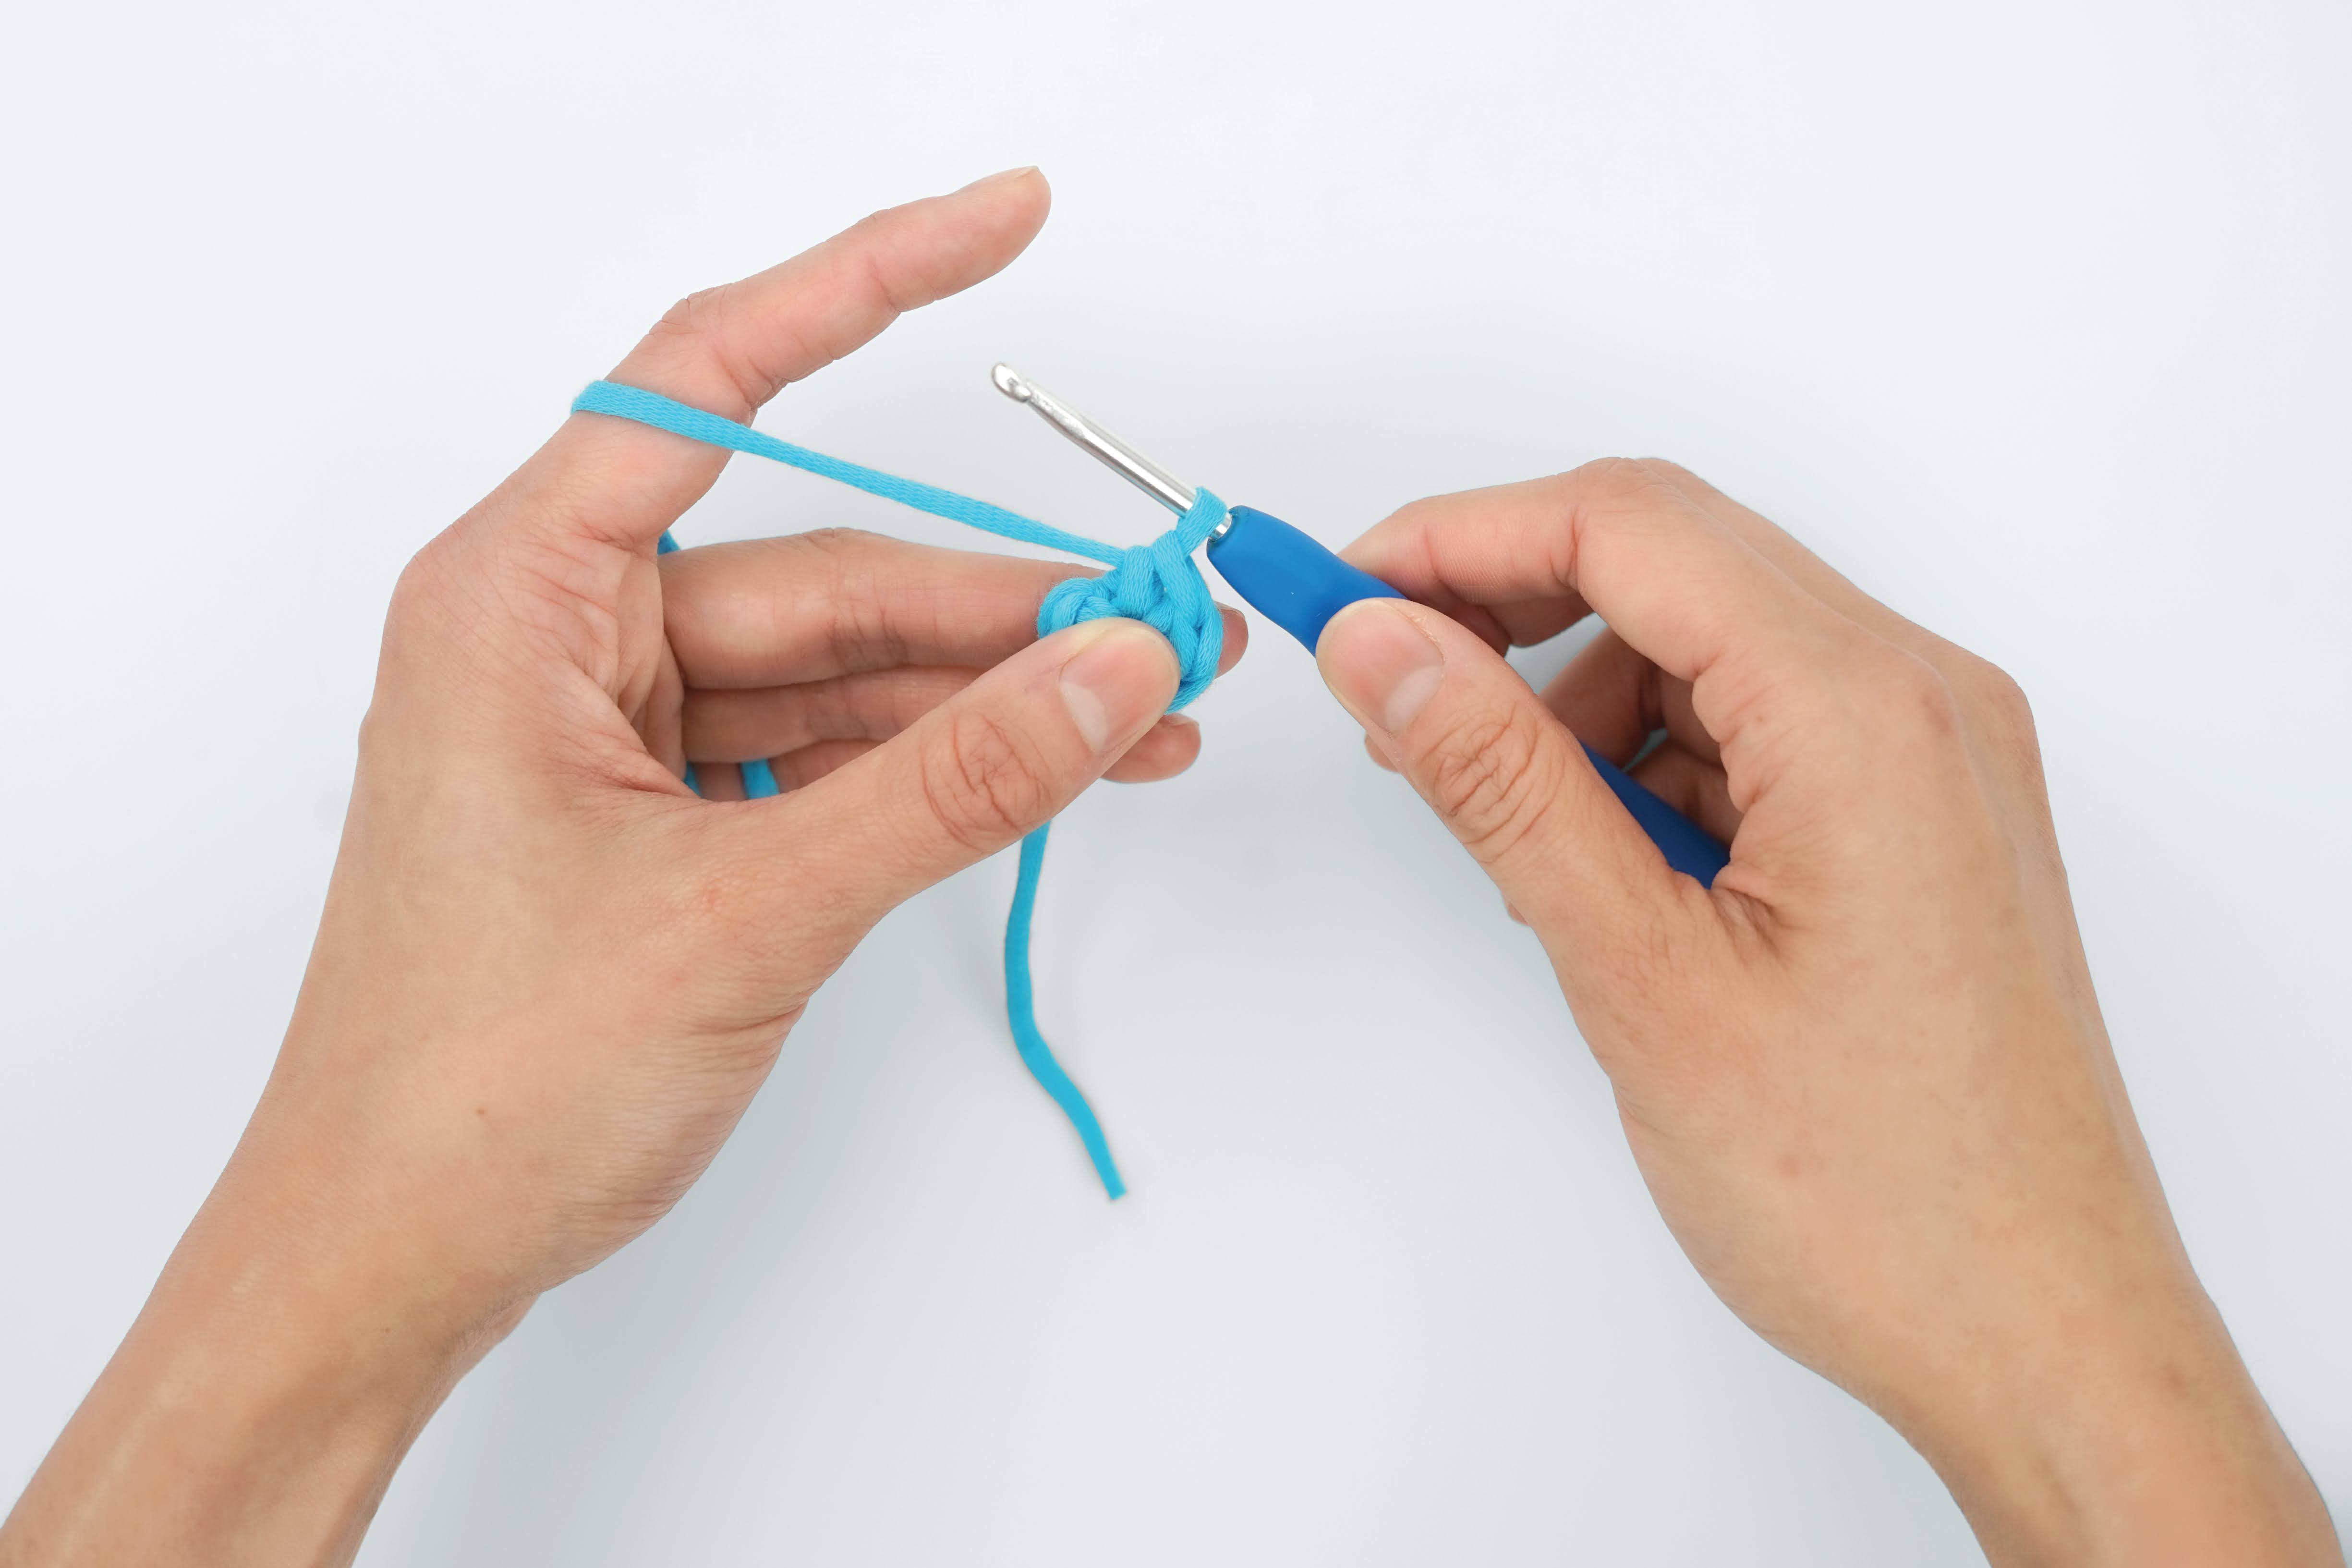
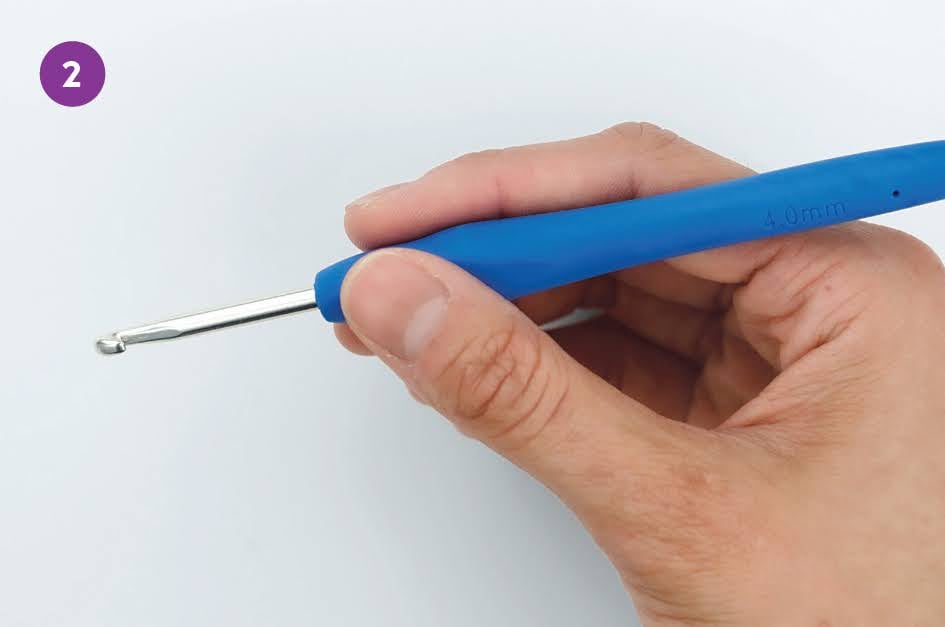 2. Pencil grip 2. Pencil gripOr hold the hook like a pencil, resting the hook on your middle finger and holding it between your thumb and pointer finger. |
HOW TO HOLD CROCHET YARN (STEP-BY-STEP WITH PHOTOS)
Hold the yarn with your right hand. There are lots of ways to hold yarn—the way I hold it is the way my mom taught me. Just like with the hook grip, do what’s comfiest for you. The most important thing is to keep constant tension with the working yarn, so that your stitches come out evenly. Did you read that last sentence and wonder—does my yarn have a 9-to-5 job? Let’s pause and cover some terminology:
|
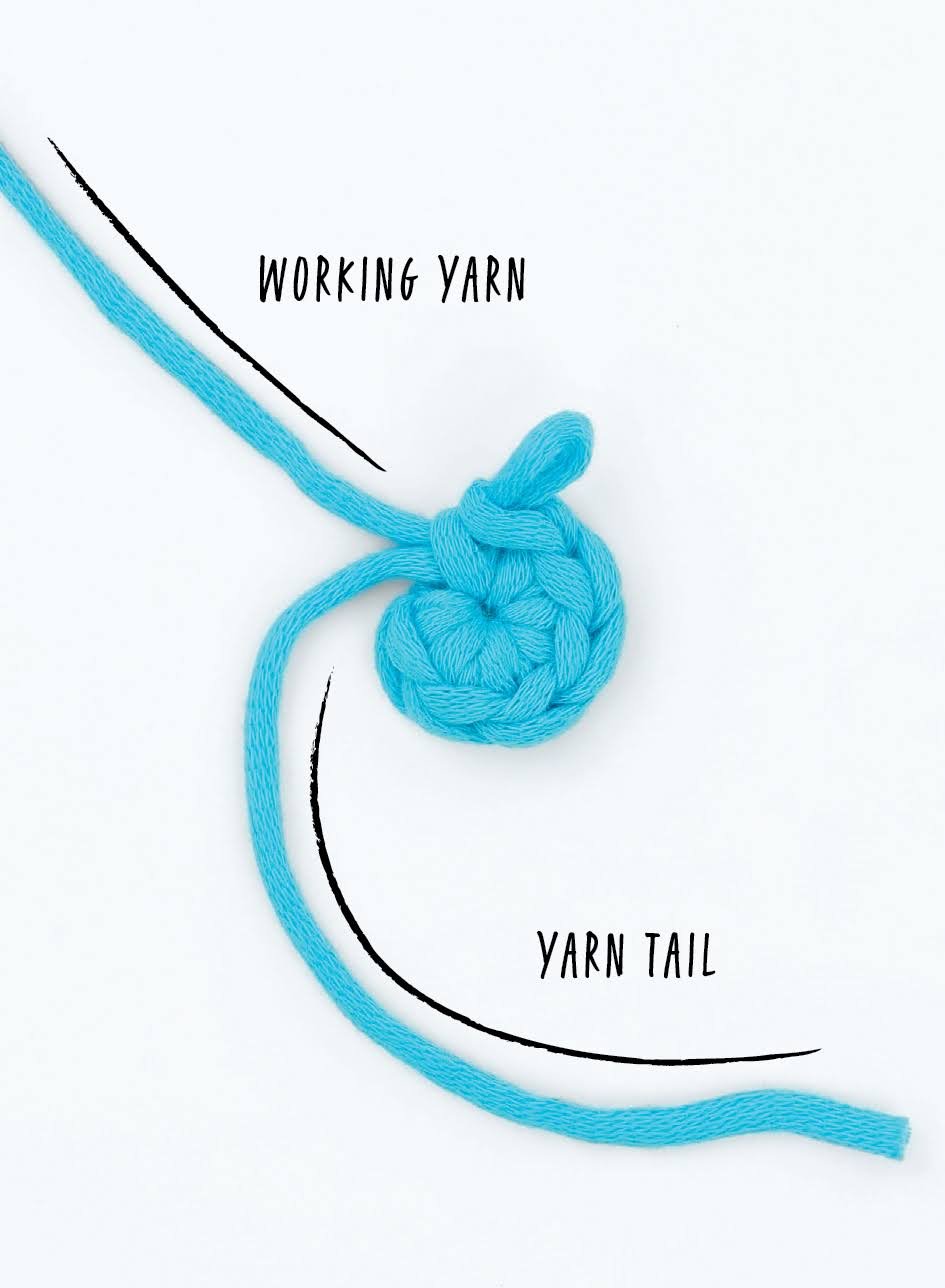
WORKING YARN: The yarn connected to the ball. It’s the yarn you’ll literally “work” with to crochet.
TAIL: The end of the yarn.
|
 |
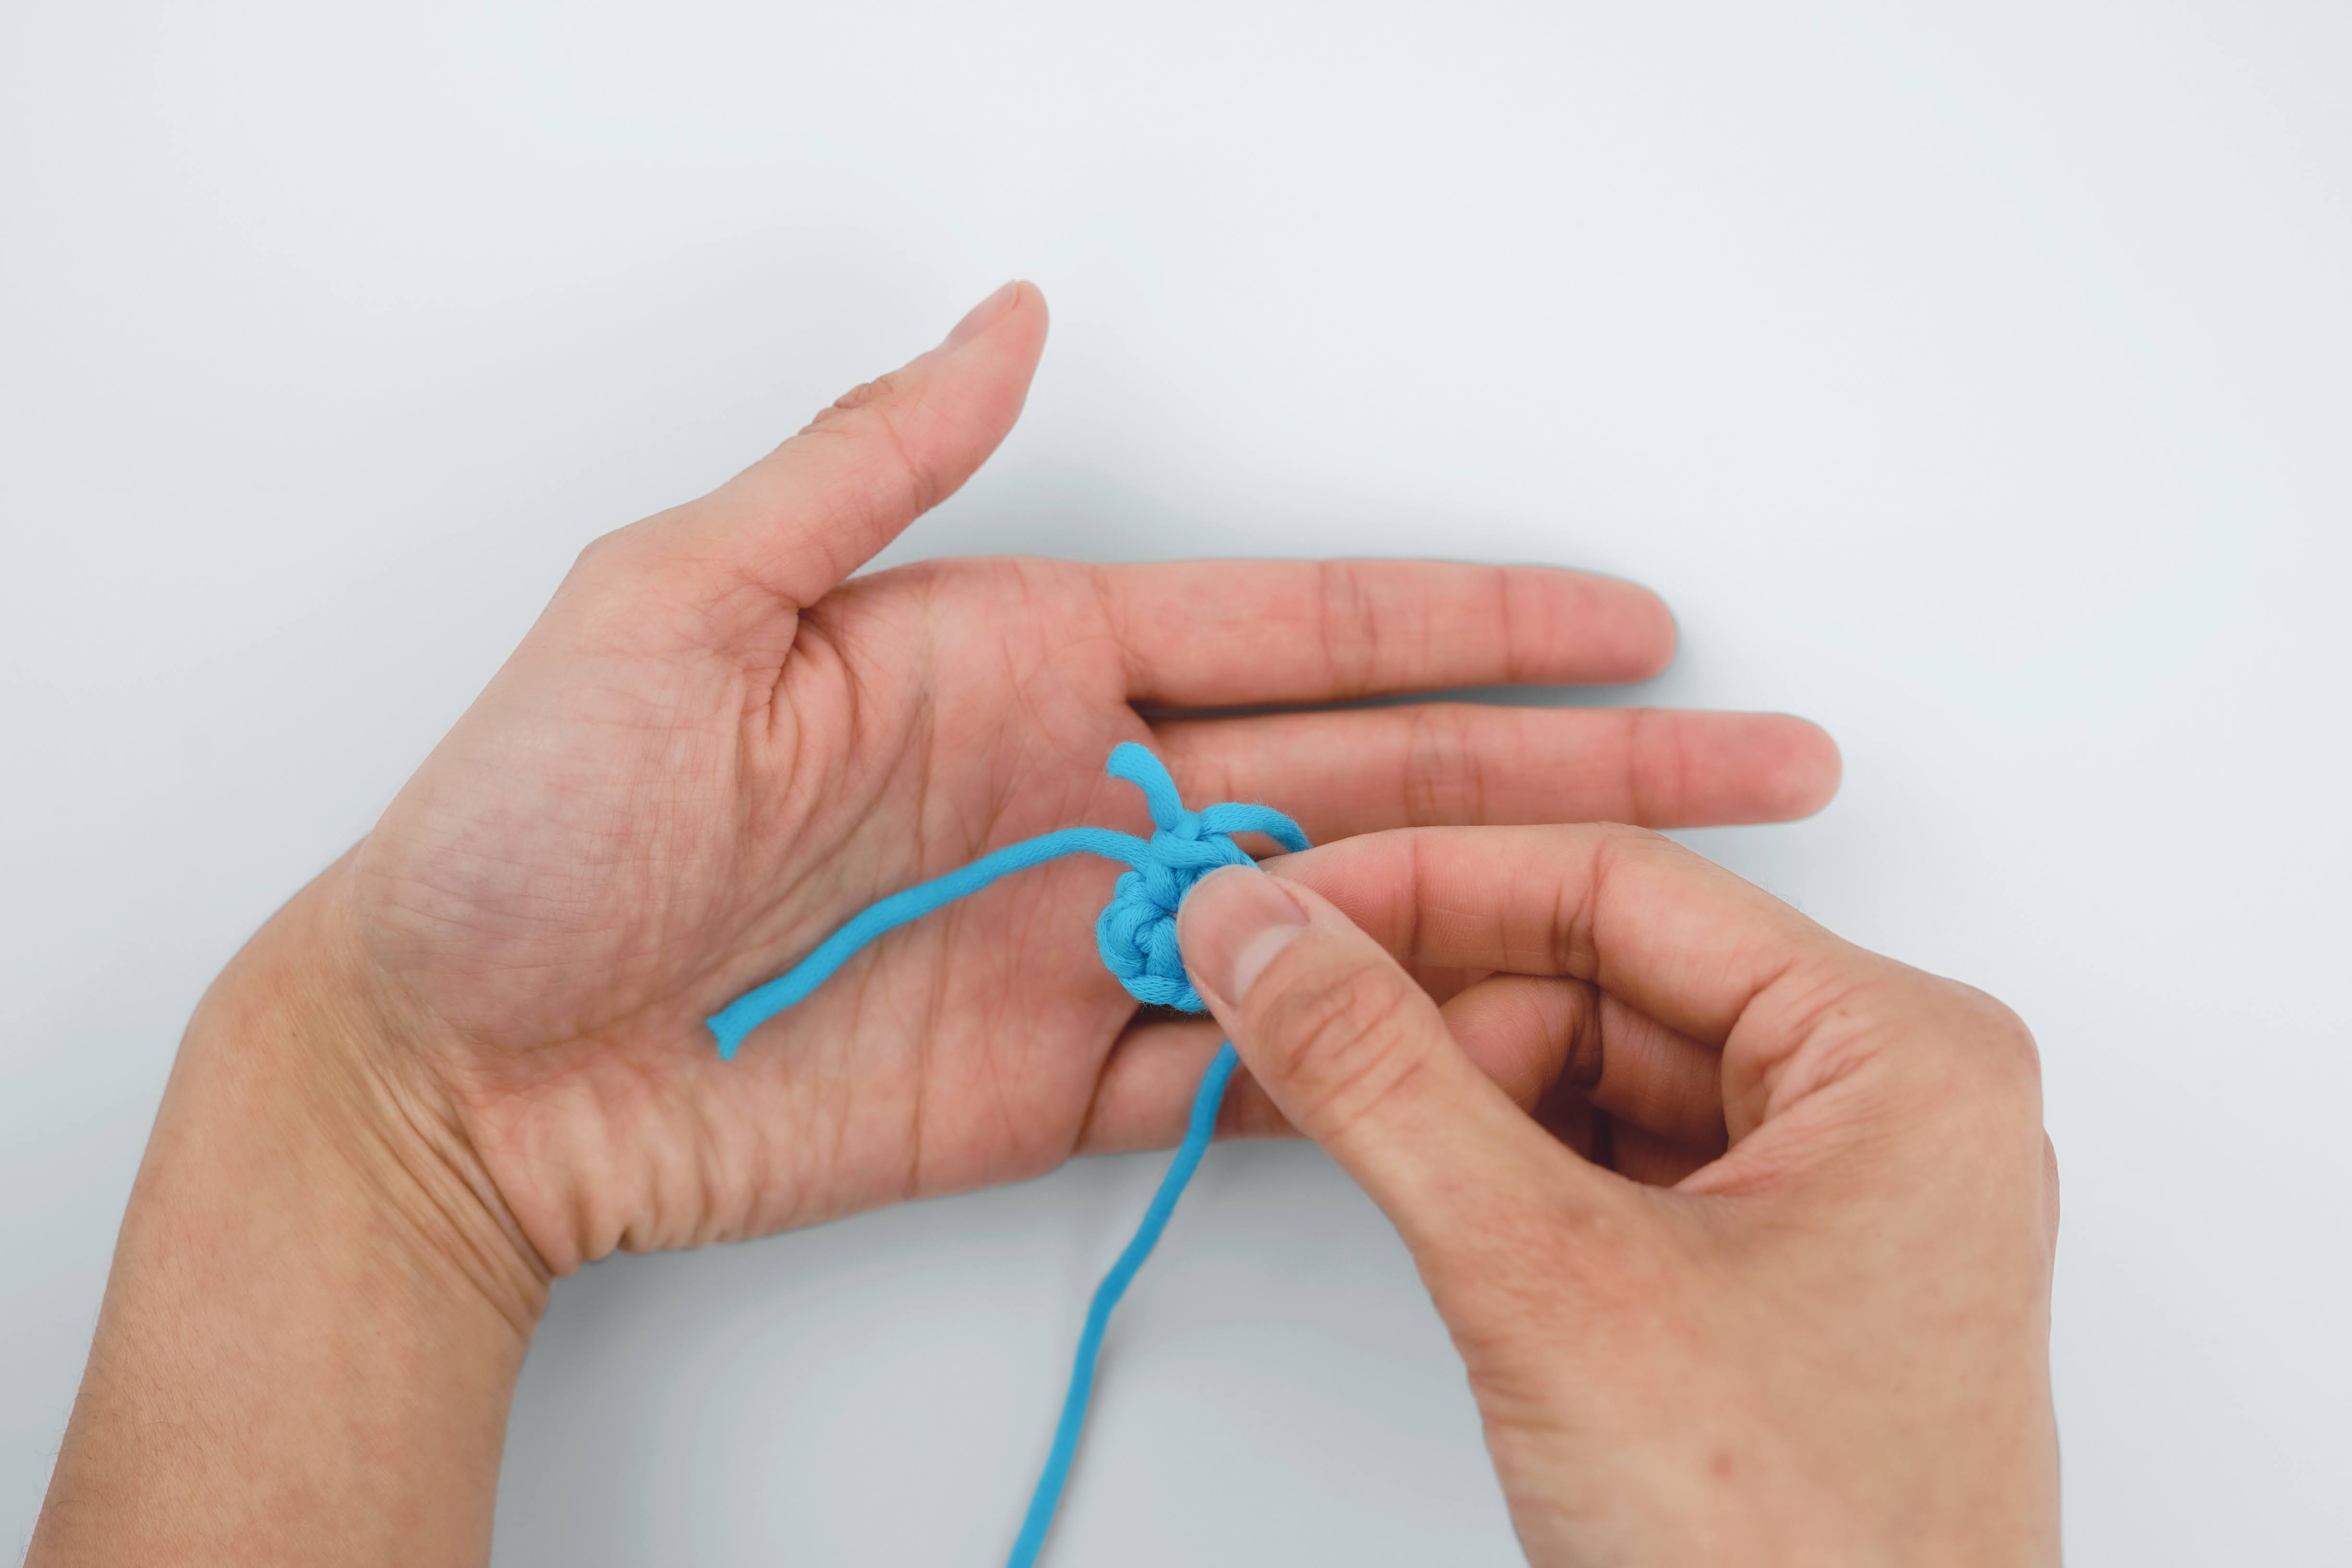 1.Turn your left palm to face you. Hold your piece in front of your hand. 1.Turn your left palm to face you. Hold your piece in front of your hand. |
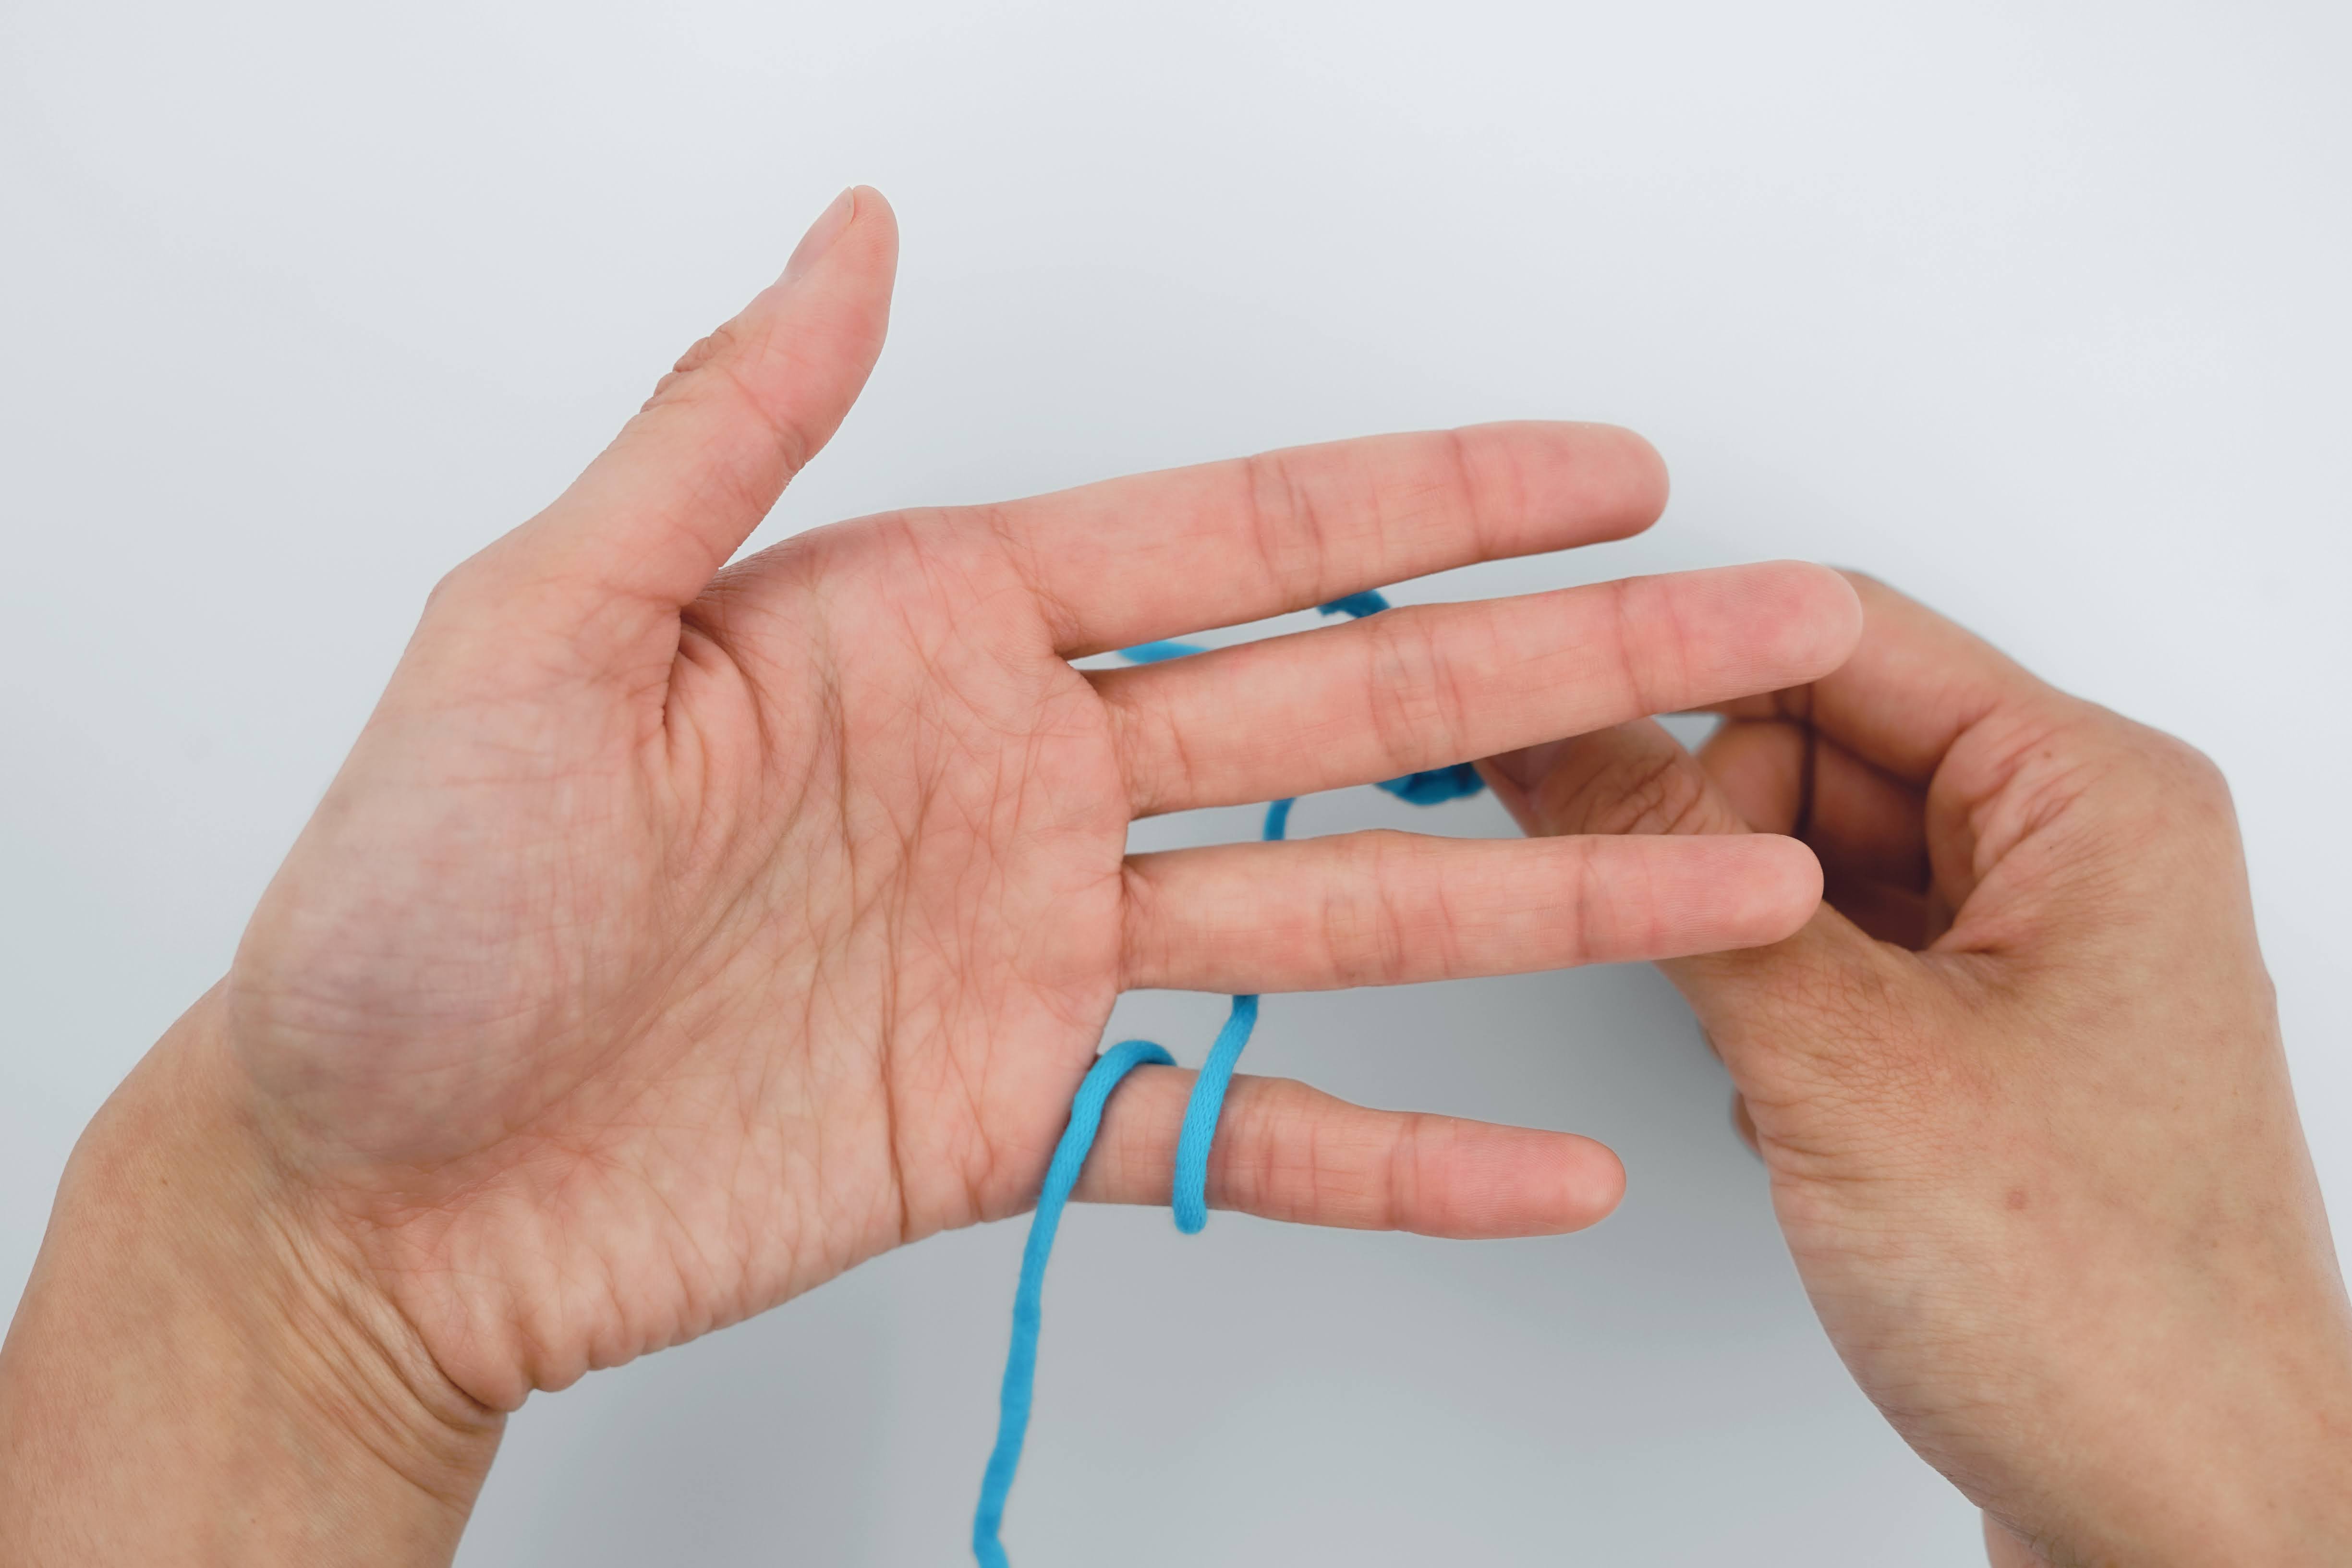 2. Wrap the working yarn once around your pinky, so that the piece ends up behind your hand. 2. Wrap the working yarn once around your pinky, so that the piece ends up behind your hand. |
 3. Bring the piece up the back of your hand until you can drape it over your pointer finger. 3. Bring the piece up the back of your hand until you can drape it over your pointer finger. |
 4. Hold onto the piece with your thumb and middle finger. Move the yarn tail behind your piece. To tighten or loosen the tension of the working yarn, move your pointer finger towards or away from you. The loop for the hook should be in the upper right-hand corner, and your next stitch will be crocheted to the right. 4. Hold onto the piece with your thumb and middle finger. Move the yarn tail behind your piece. To tighten or loosen the tension of the working yarn, move your pointer finger towards or away from you. The loop for the hook should be in the upper right-hand corner, and your next stitch will be crocheted to the right. |
TIP
If your working yarn is super loose after following these steps, try doing step 2 as close as possible to your piece.
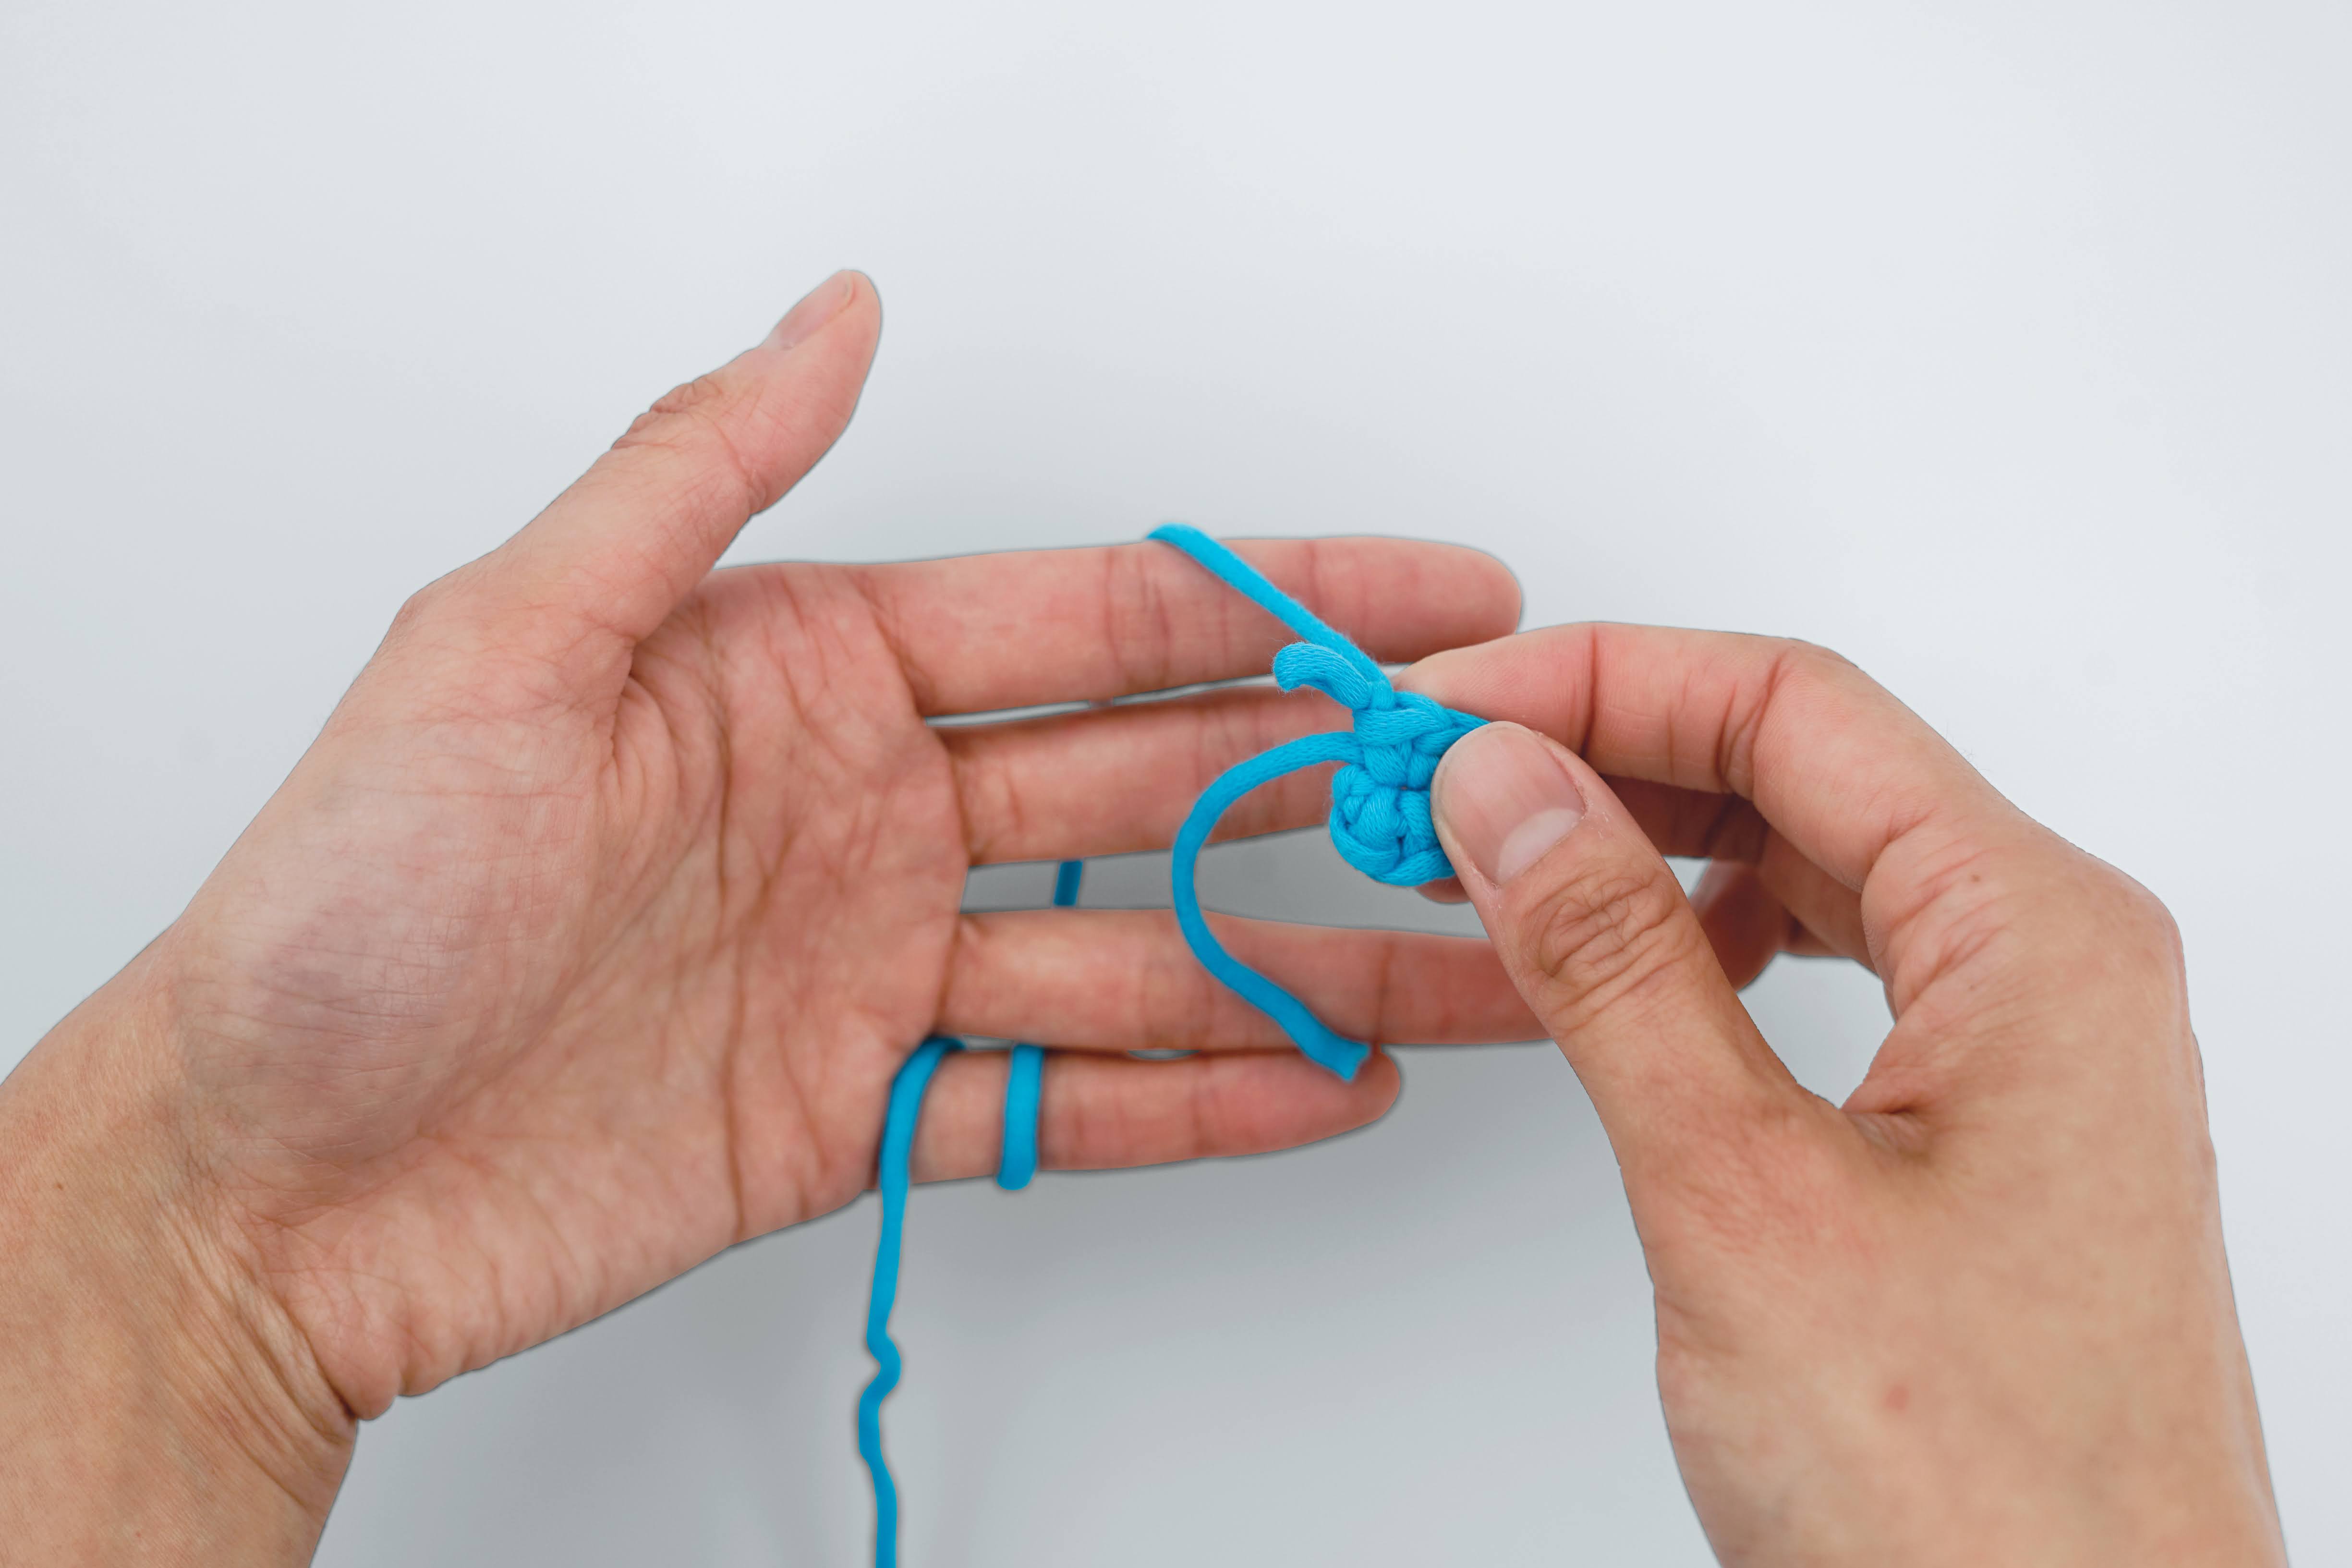
When you put it all together, the hook should be in front of your working yarn. Your final crocheting position should look something like this:
Related Posts

How to half double crochet stitch (hdc)

How to crochet a turning chain

How to single crochet decrease

How to single crochet stitch (sc)

How to yarn over in crochet

How to Read Crochet Abbreviations

How to use a stitch marker
